Blind XSS is a common vulnerability and can have a significant impact if it reaches internal environments (e.g. backend, internal support tickets…). There are many online services that can perform blind XSS, but for some reason you may prefer to configure your own environment rather than use a online service. XSS Hunter is the most popular tool and a specific new version have been published recently, called “XSS Hunter Express” and we will see in this tutorial how to setup your own self-hosted version by using the PwnMachine.
XSS Hunter Setup
DNS configuration
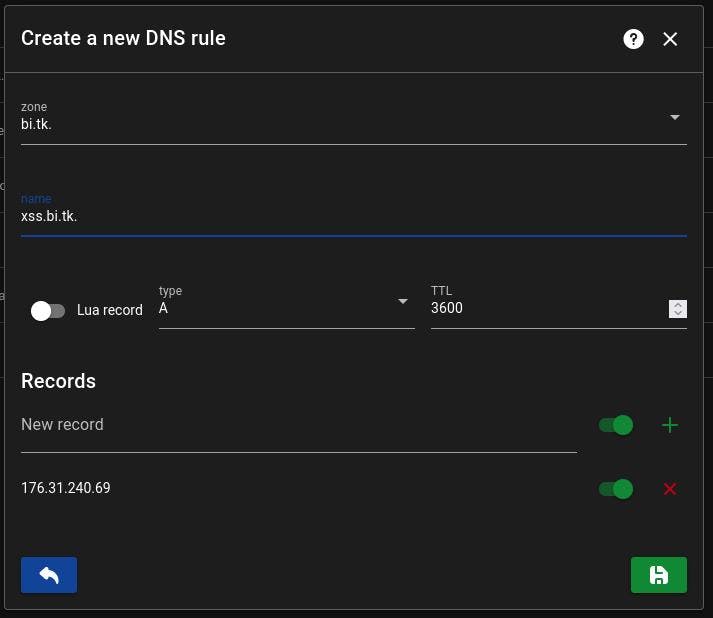
The best way to use XSS Hunter is to have a dedicated domain name. Let’s start by create a new DNS rule in PwnMachine.
Warning: If you already have catch-all rule like *.bi.tk you can skip this step.)
Create an rule of type A (IPv4) pointing to your server.
XSS Hunter Express
By default XSS Hunter Express try to create your SSL certificate with Let’s Encrypt. Since pwn-machine is already taking care of that for us we need to remove the feature from XSS Hunter.
Also XSS hunter use local mount, while volume are the recommended method for PwnMachine. Because the project is open source we were able to make a few patches:
- We added an env variable SSL_ENABLED to toggle certificate creation
- Changed local mount to volumes.
- And updated the docker-compose file to use .env
We’ve submitted a pull request to the main project and we are waiting for approval. Meanwhile you can find our modified GitHub repository just here.
Time to start the containers.
Then you need to create a .env file with your settings
SSL_ENABLED=false
HOSTNAME=xss.bi.tk

# Optional
CONTROL_PANEL_ENABLED=true
MAX_PAYLOAD_UPLOAD_SIZE_MB=50

# Optional
SMTP_EMAIL_NOTIFICATIONS_ENABLED=true
SMTP_HOST=smtp.gmail.com
SMTP_PORT=465
SMTP_USE_TLS=true
SMTP_USERNAME=YourEmail@gmail.com
SMTP_PASSWORD=YourEmailPassword
SMTP_FROM_EMAIL=YourEmail@gmail.com
SMTP_RECEIVER_EMAIL=YourEmail@gmail.com
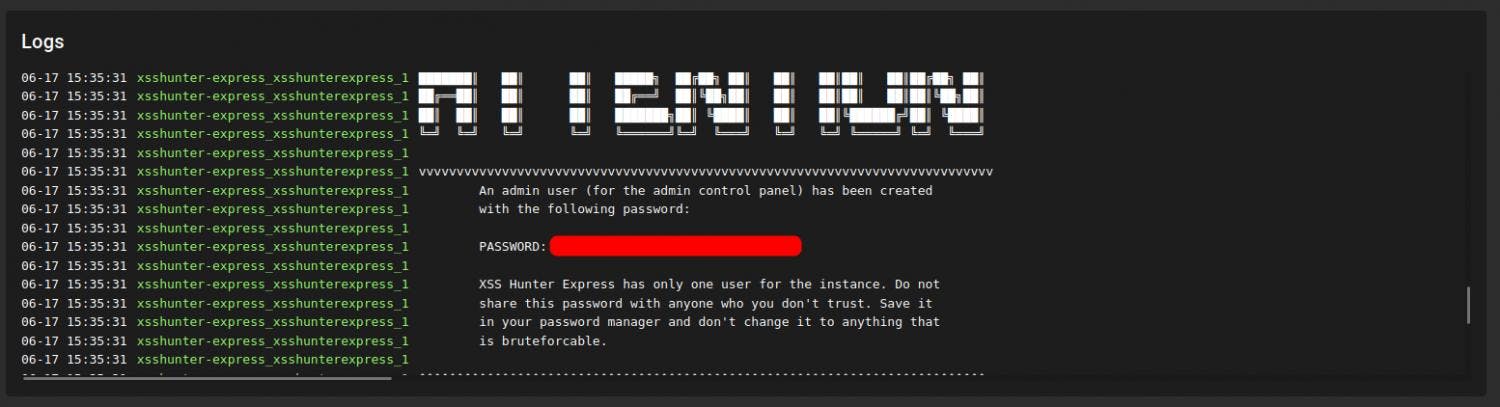
To get your default admin password you can look in the container logs
Traefik / SSL configuration
Now that your container is up and running we need to expose it to the internet
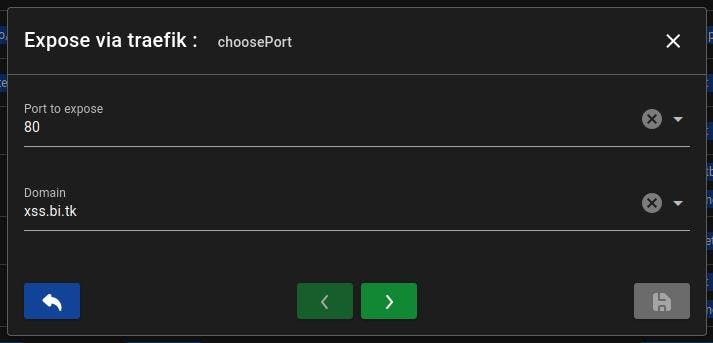
Do a right-click on the XSS Hunter Express container and choose expose via traefik
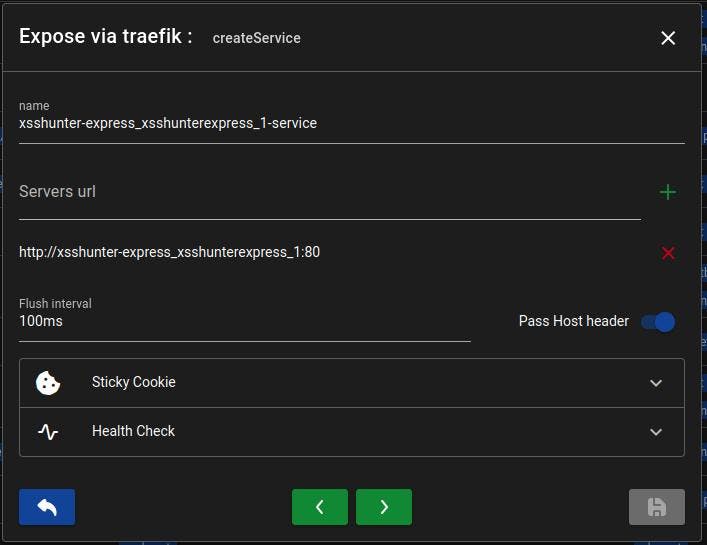
- We want to expose port 80 on the newly created domain.
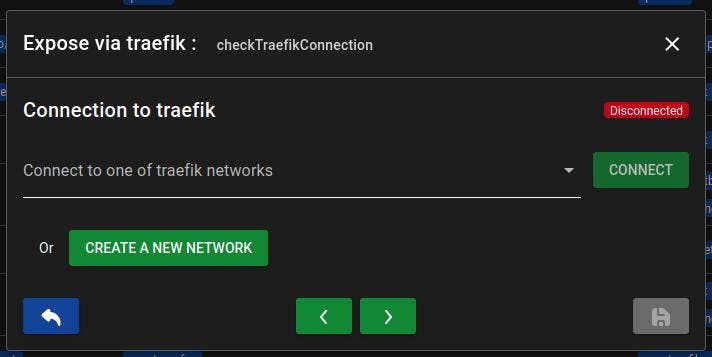
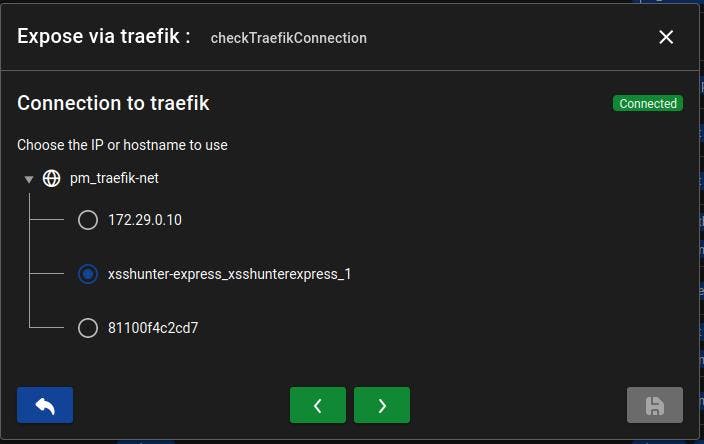
We need the container to share a network with traefik, select an existing one or create a new network.
Using the container name is recommended, this should always stay the same even if you restart it.
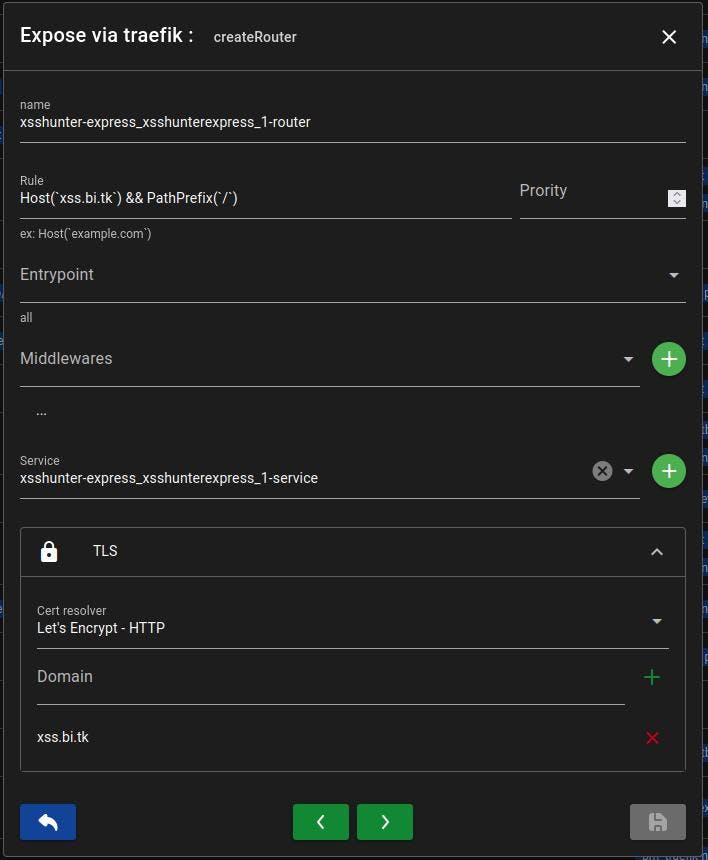
You can keep the proposed settings for the router but don’t forget to configure the TLS settings if you want SSL.
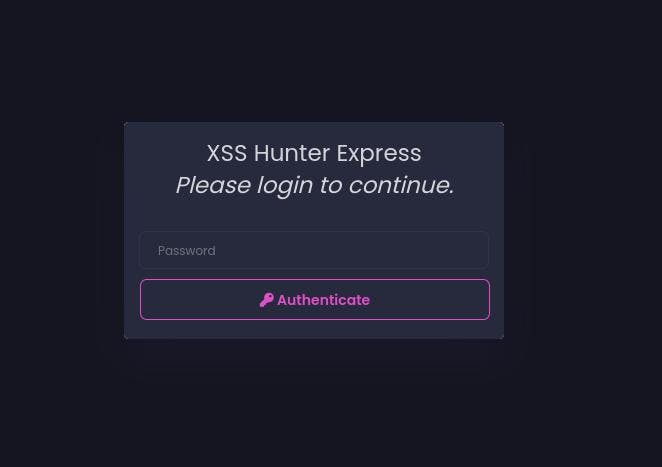
Once everything is complete you can visit https://xss.bi.tk/admin and login with your password.
Conclusion
And that’s it! So we have seen together how to configure your DNS, set up XSS Hunter Express and expose it via Traefik. Now you have your own XSS hunter environment and all you have to do is use it!