Welcome to the first post in our tutorial series “How-To” dedicated to Burp Suite. In this tutorial we will create a modern burp extension using Kotlin. Why Kotlin? Burp is written in Java, but if you don’t like java (like me) you can use python or ruby to create an extension. I used to write my addons in python with Jython but Burp use Jython that only support Python2.7 which is now deprecated for more than a year. I could use Ruby but the extender API is very “java-like“, that make writing elegant code difficult when you mix multiple languages.
This tutorial series will teach you how to use burp API, not how to program in Kotlin. If you want to learn more about Kotlin, I strongly recommend this video by the creator of the language.
Episode 0
In this prelude episode we will focus on the development environment setup. We are going to use IntelliJ IDEA. IDEA and Kotlin are both developed by JetBrains and work wonderfully together.
You can find all the code used in this tutorial on our GitHub repository
IntelliJ IDEA
Installation
The first step is to install openjdk-14 and IntelliJ IDEA. We will use Ubuntu LTS 20.04 for this tutorial, if you use another OS or Linux distribution please refer to https://www.jetbrains.com/idea/ for help.
$> sudo apt install openjdk-14-jdk
$> sudo snap install intellij-idea-community --classic
That’s it, you can now start IntelliJ IDEA.
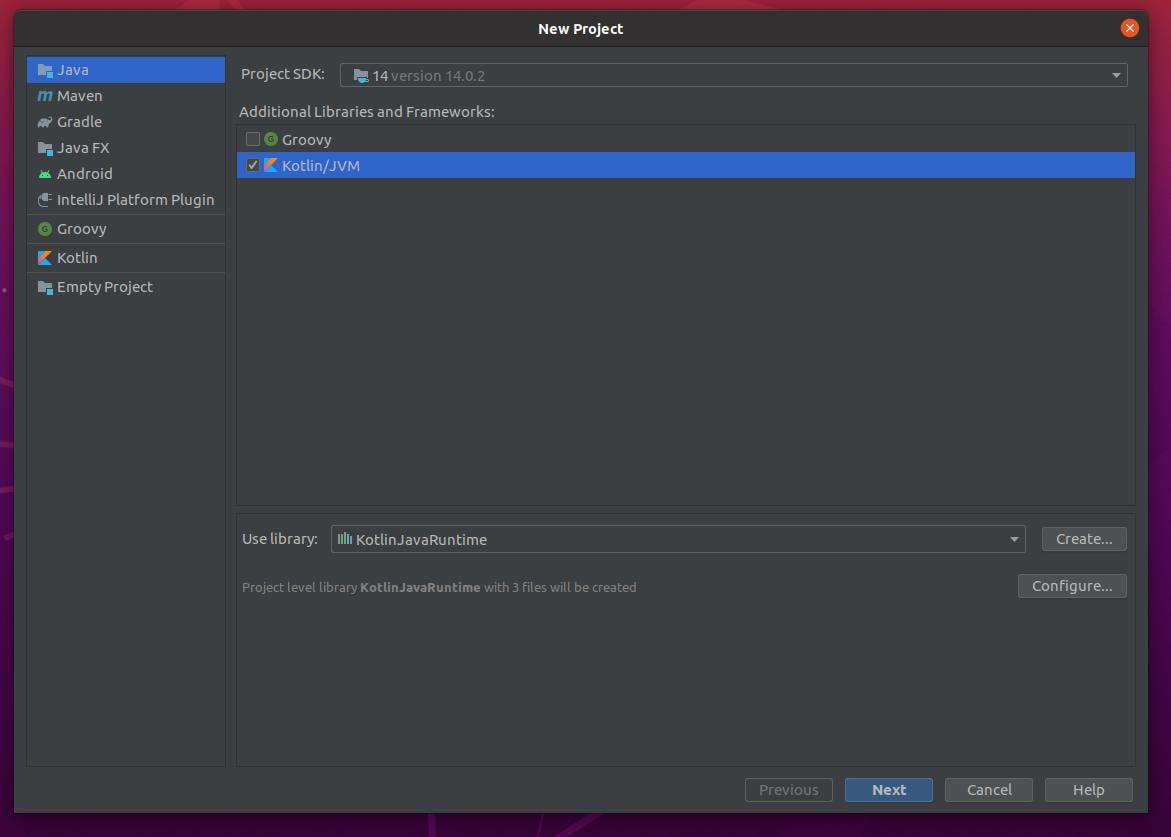
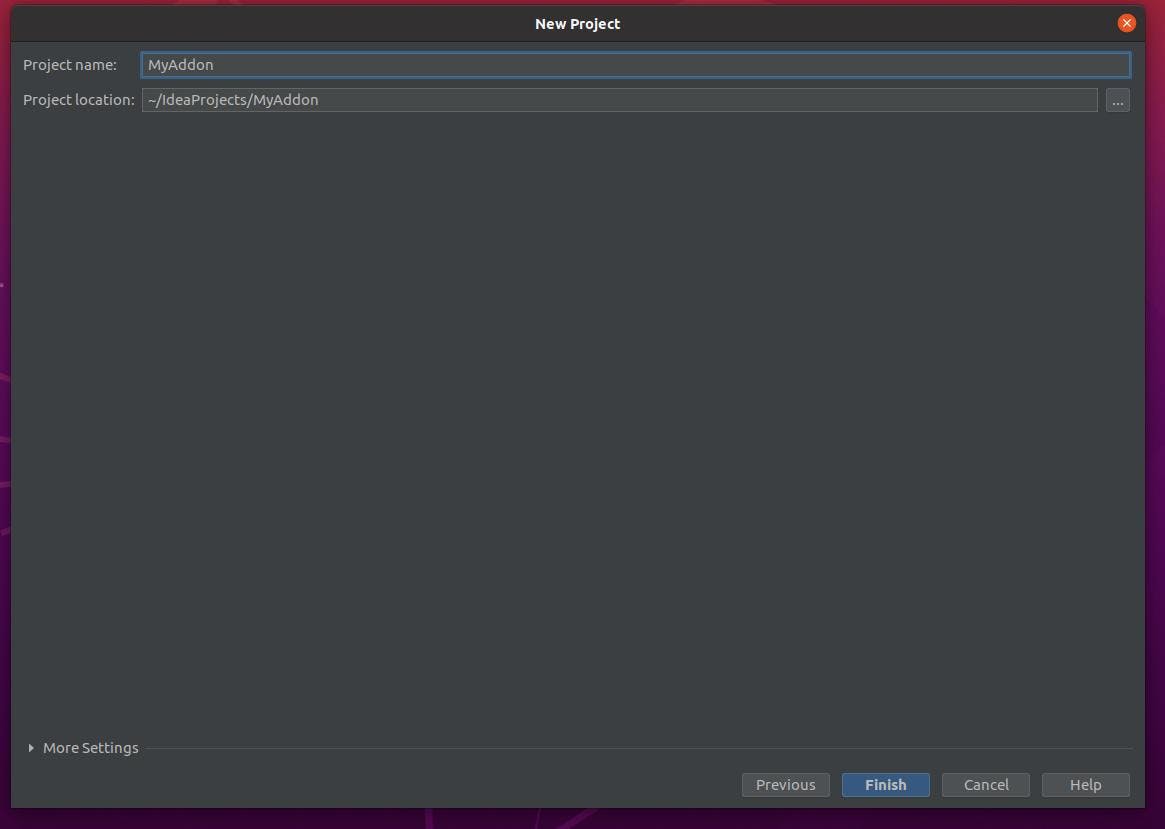
New project
Once it’s started, create a new Java project named MyAddon and add Kotlin support.
This will create the skeleton folder for your addon.
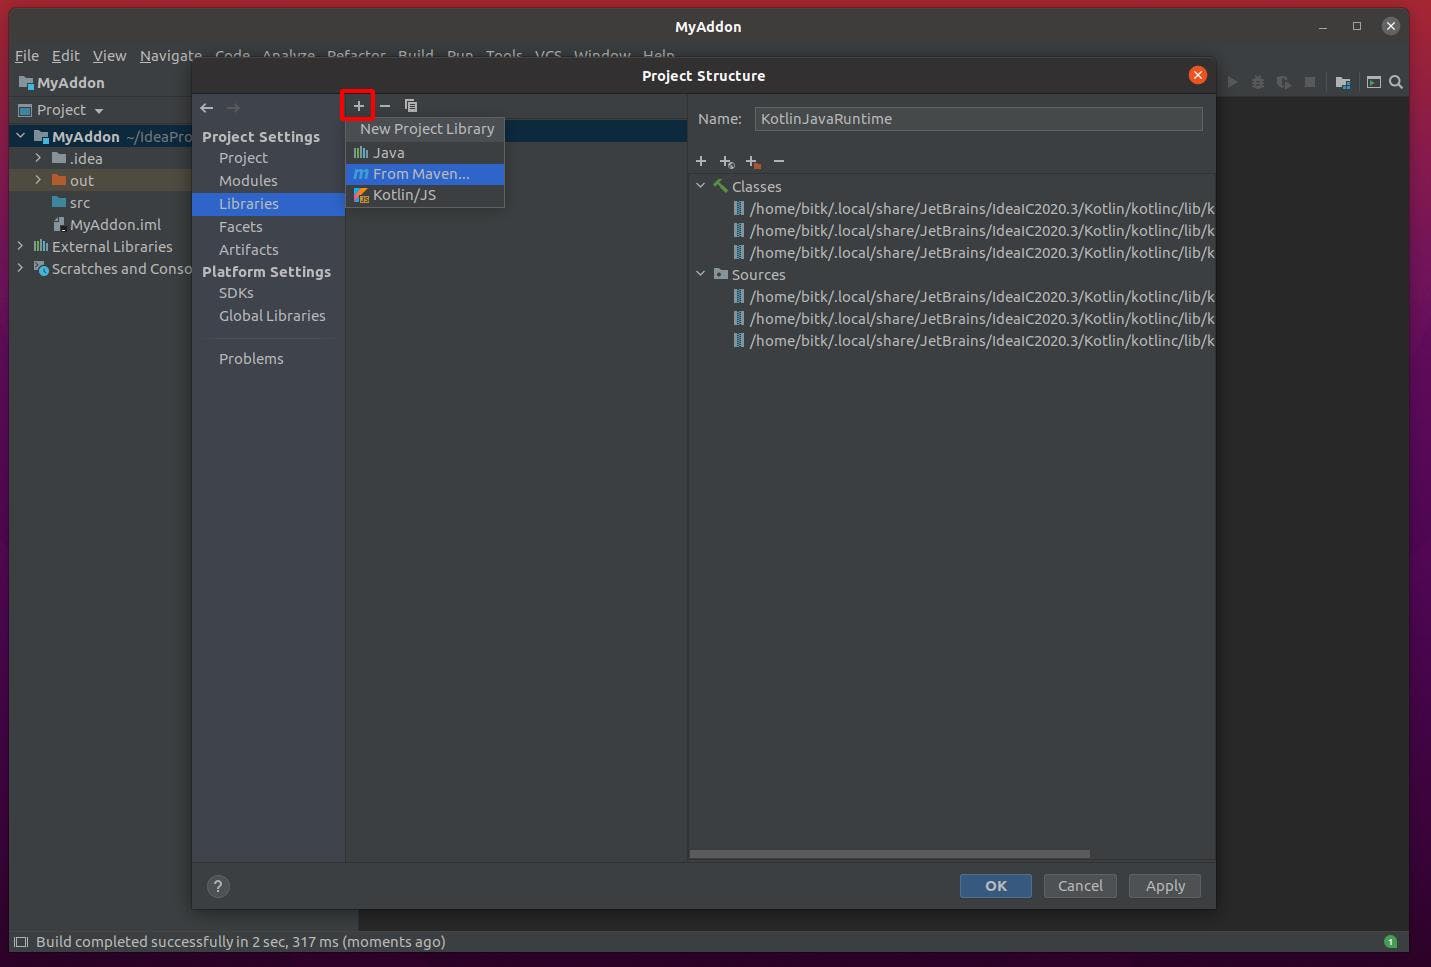
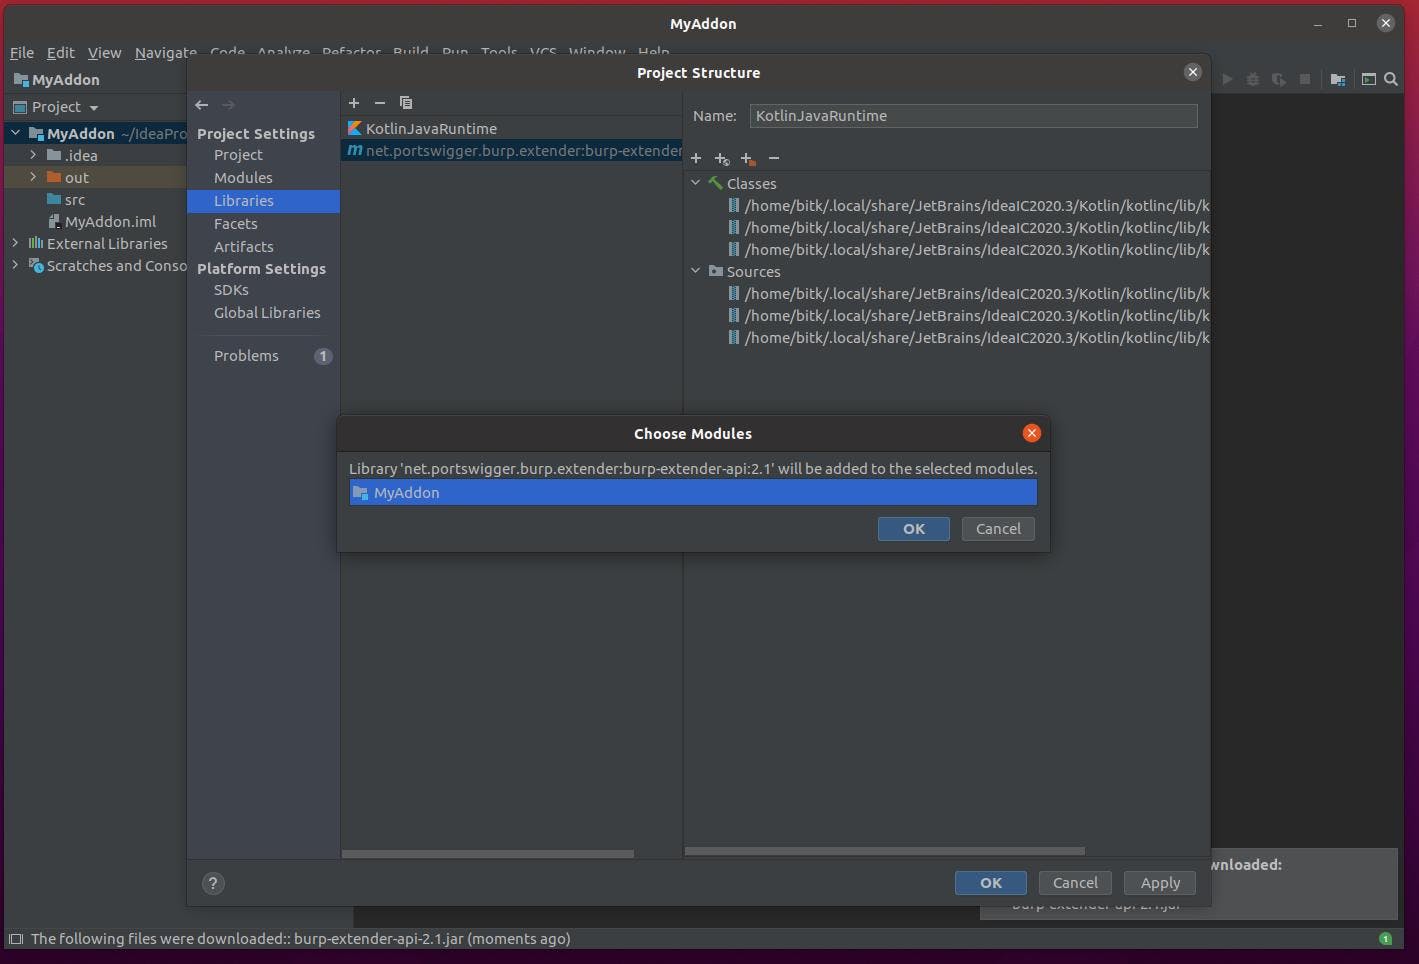
To create a burp extension we will need burp interface files, we can easily add them using maven.
- Open the project settings via File / Project Structure, or by pressing ctrl+alt+shift+s and go to the Libraries tab.
- Click on the + icon and choose From Maven...
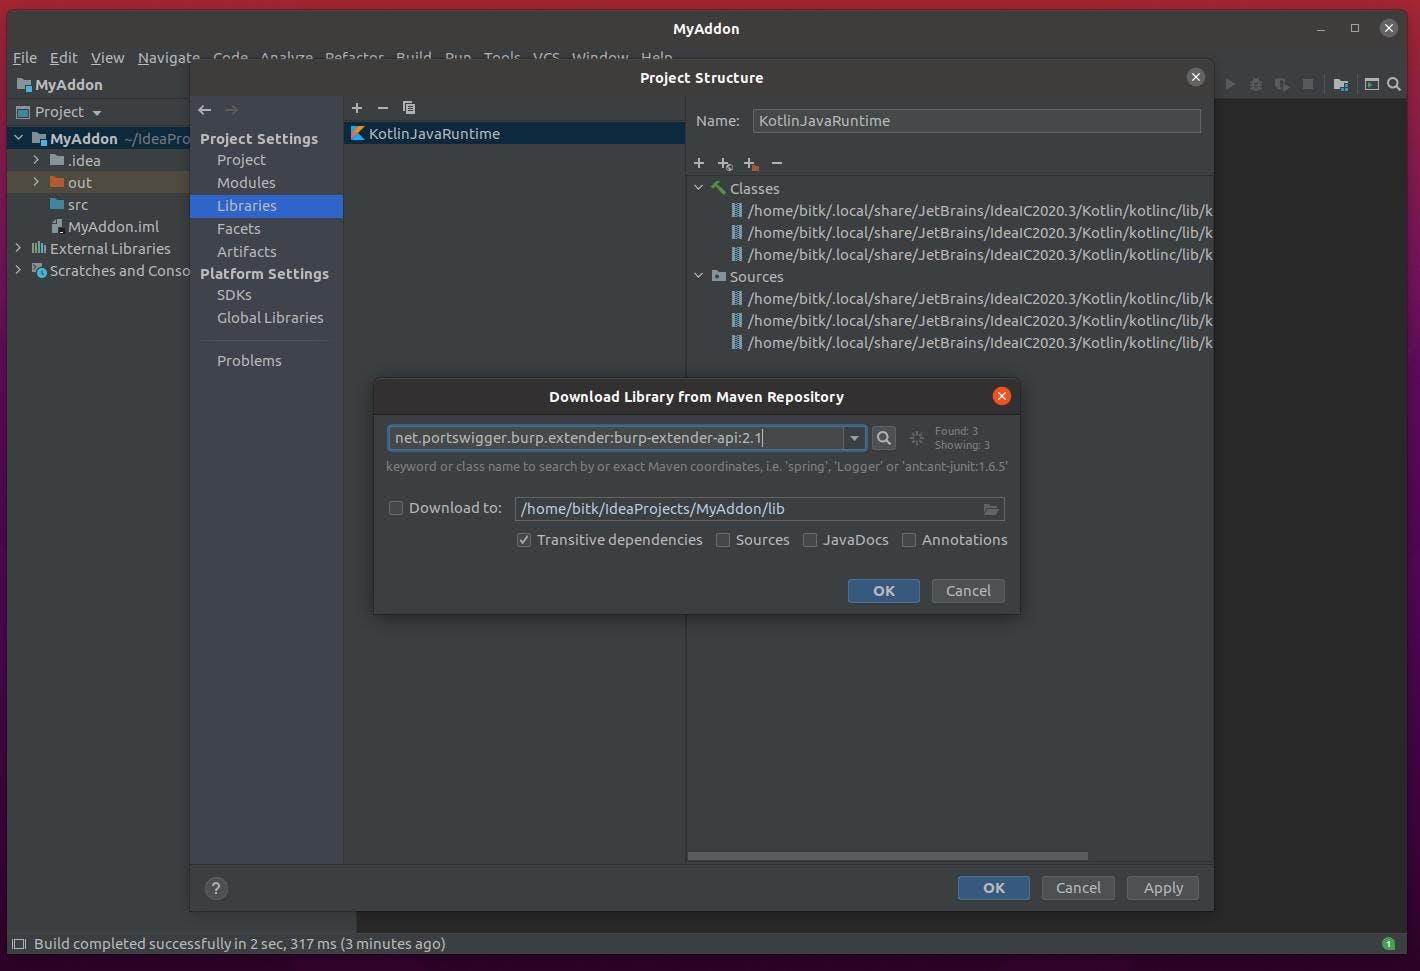
Search for net.portswigger.burp.extender:burp-extender-api and install the latest version (2.1 here)
Add the library to your addon module.
Writing the extension: Hello World
Now we have everything we need, we can start writing the actual code for the addon.
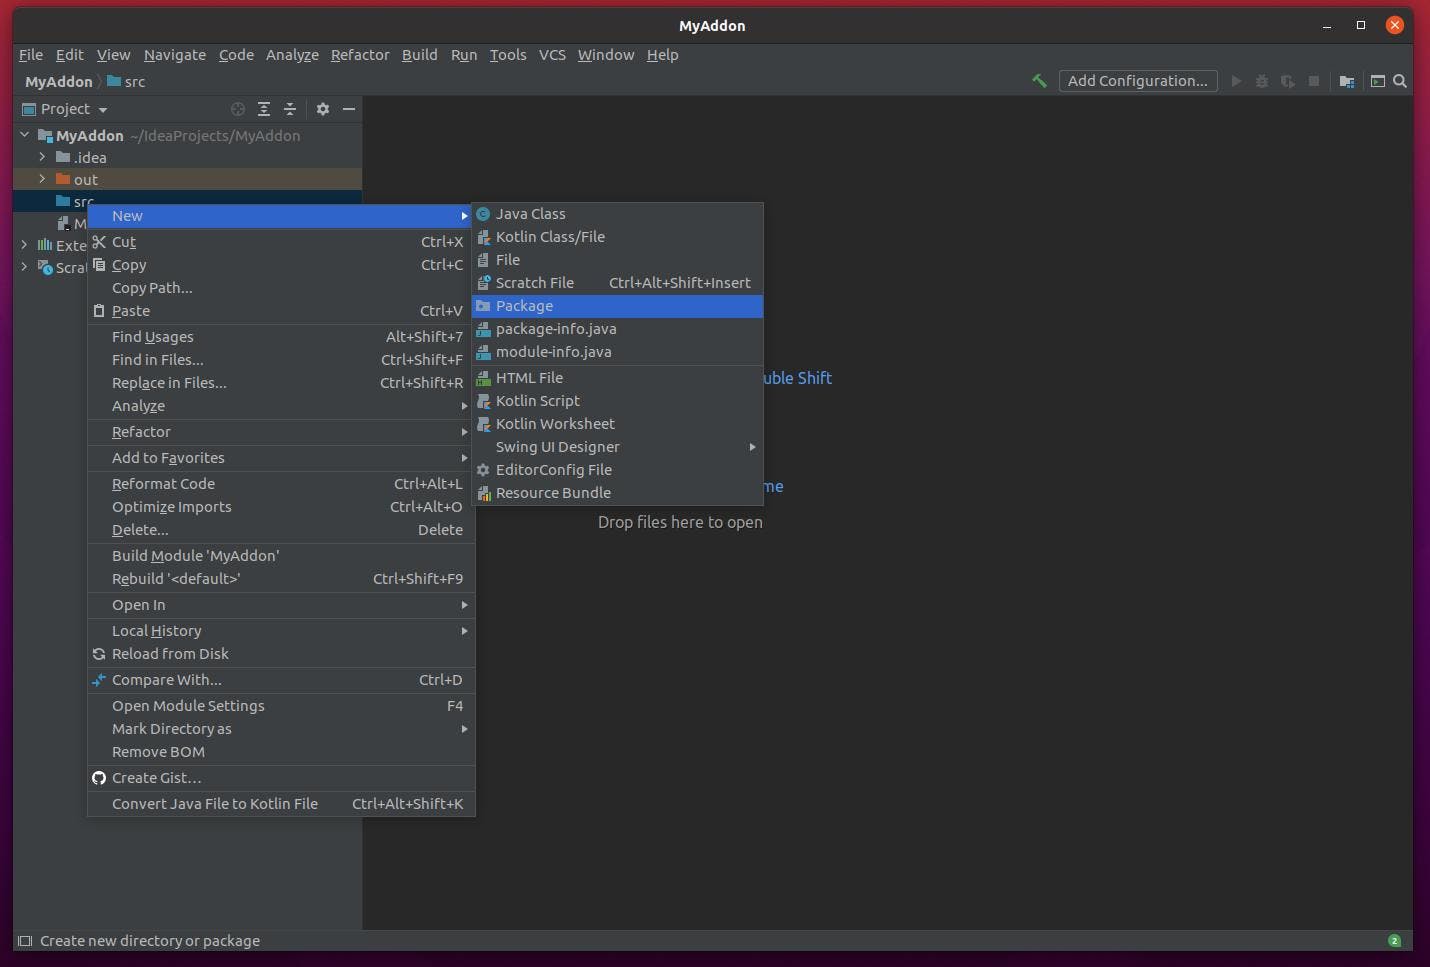
In order for Burp to find our extension we need to create a new package named burp with a class named BurpExtender implementing IBurpExtender interface.
First create a new burp package.
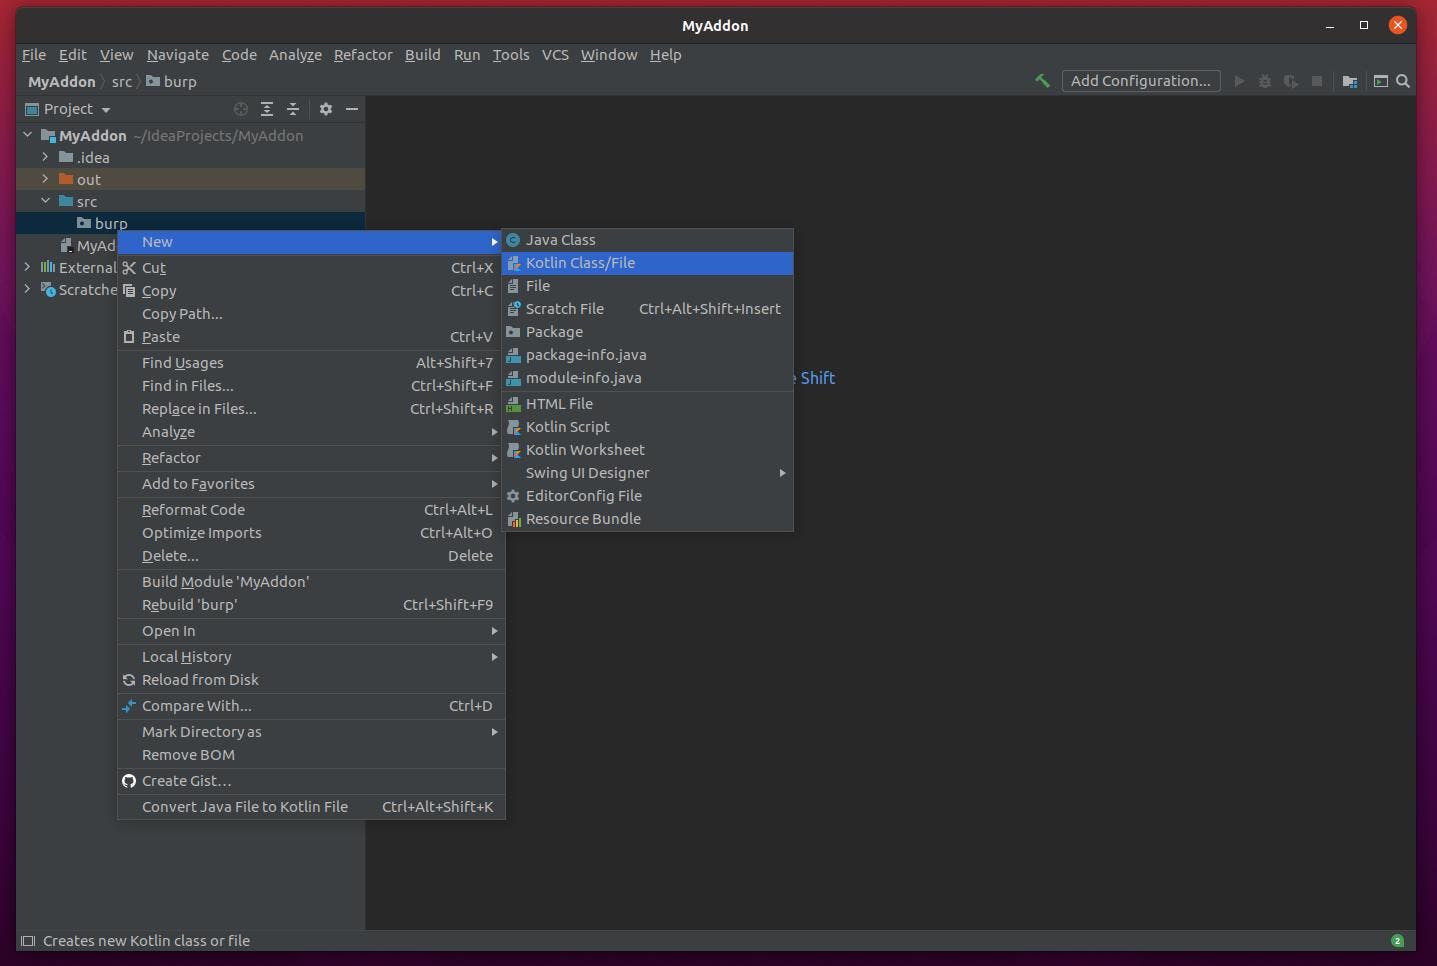
Then, in this burp package create a new Kotlin class named BurpExtender
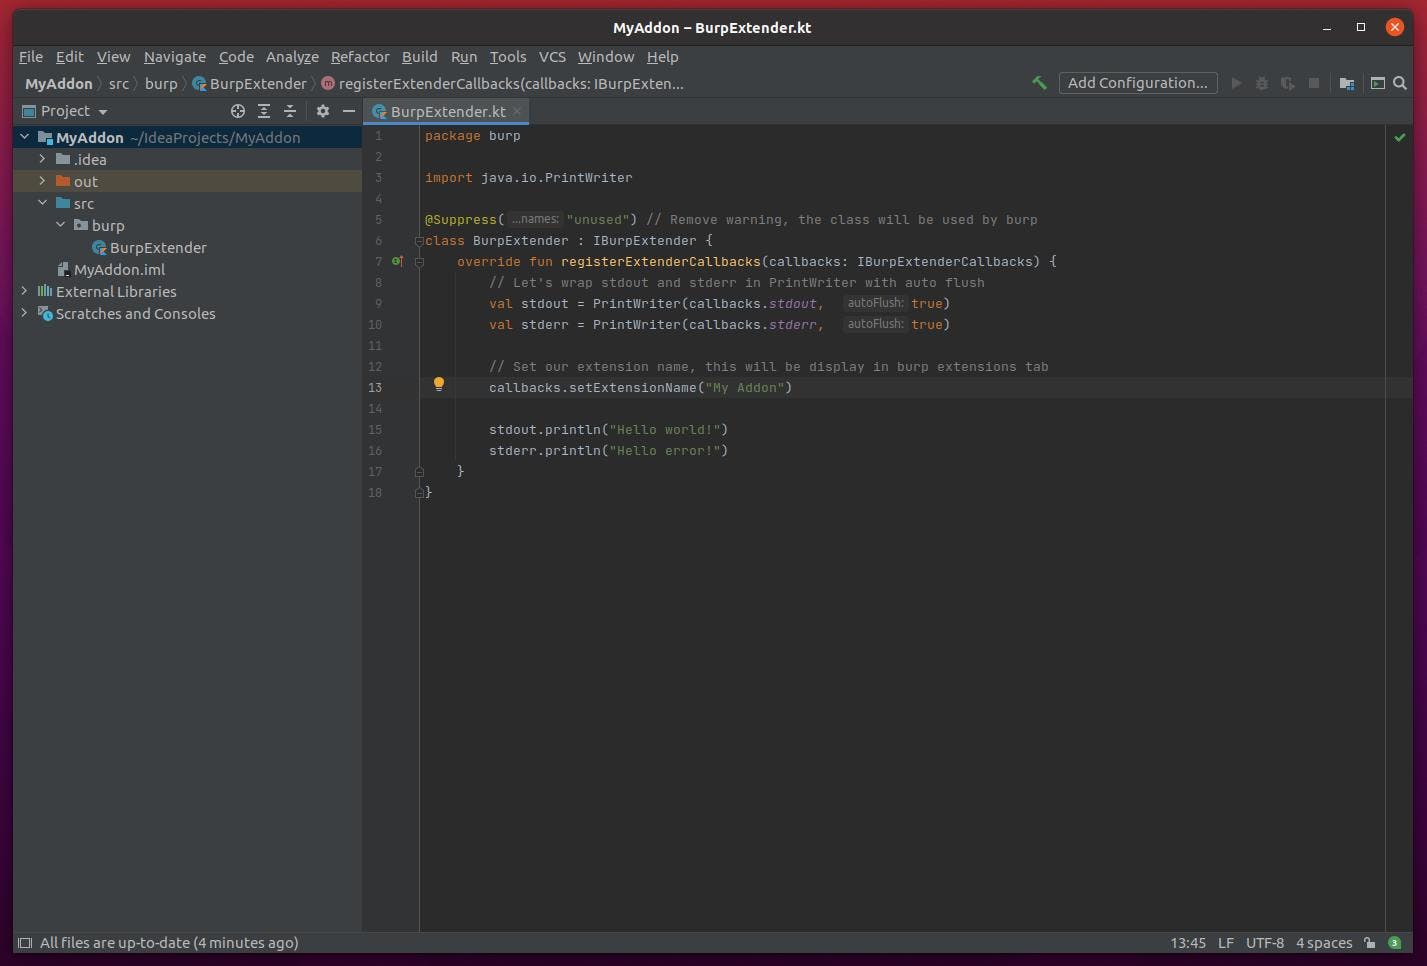
The BurpExtender class must implement a registerCallback function that will be called by burp, this is the entrypoint of your addon. Our first example is a simple hello world.
This is the full code below:
package burp
import java.io.PrintWriter
@Suppress("unused")
class BurpExtender : IBurpExtender {
override fun registerExtenderCallbacks(callbacks: IBurpExtenderCallbacks) {
val stdout = PrintWriter(callbacks.stdout, true)
val stderr = PrintWriter(callbacks.stderr, true)
callbacks.setExtensionName("My Addon")
stdout.println("Hello world!")
stderr.println("Hello error!")
}
}
Now that our minimal extension is finish we need to build it into a jar file in order to load it into burp.
Building a jar file
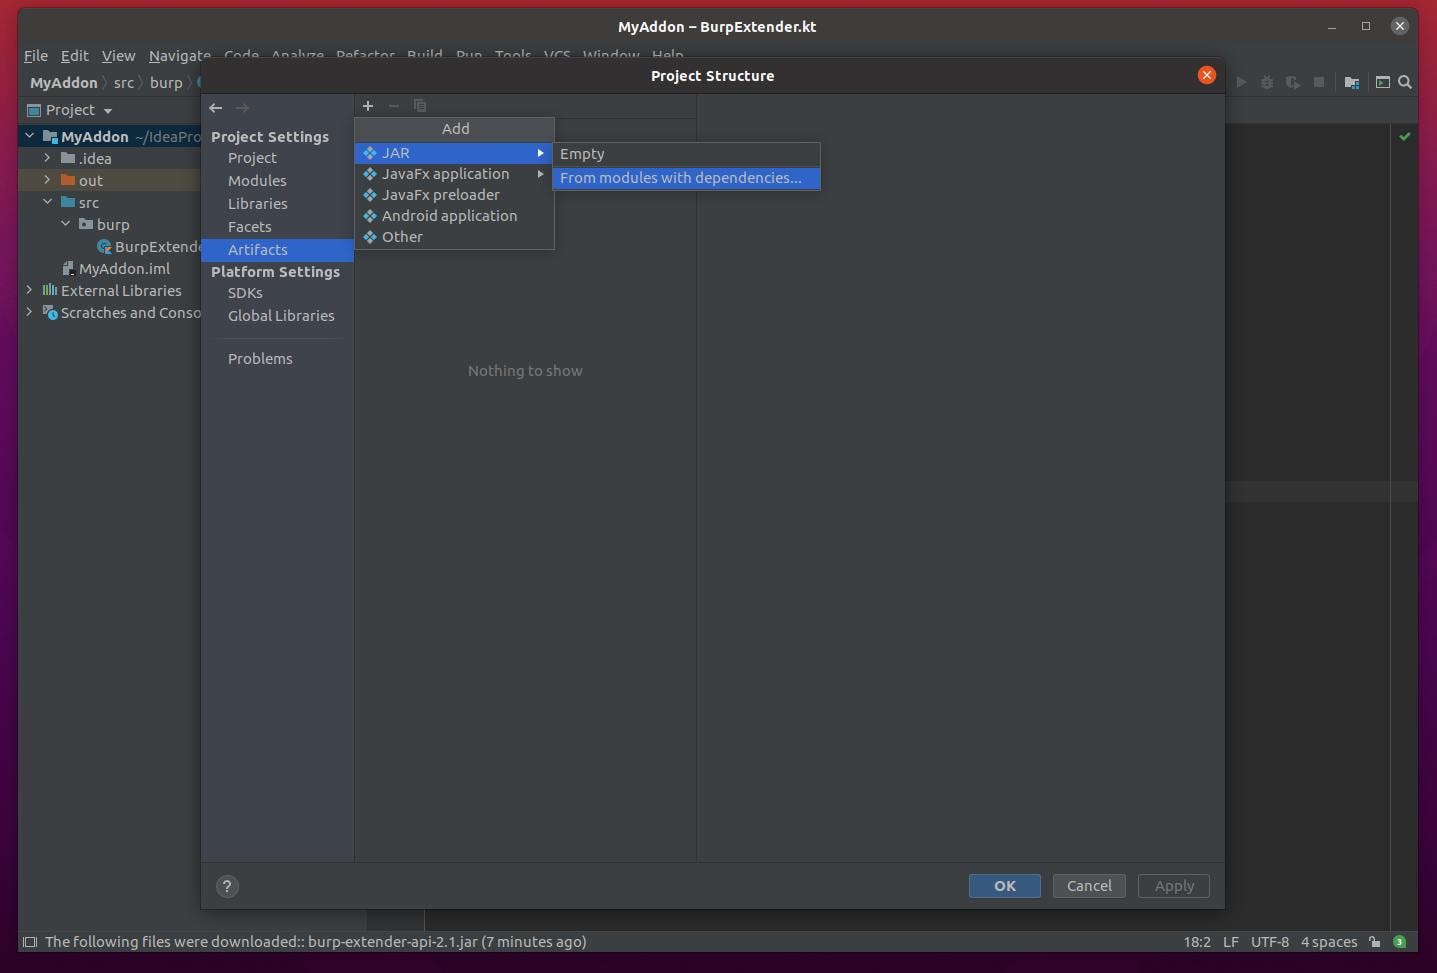
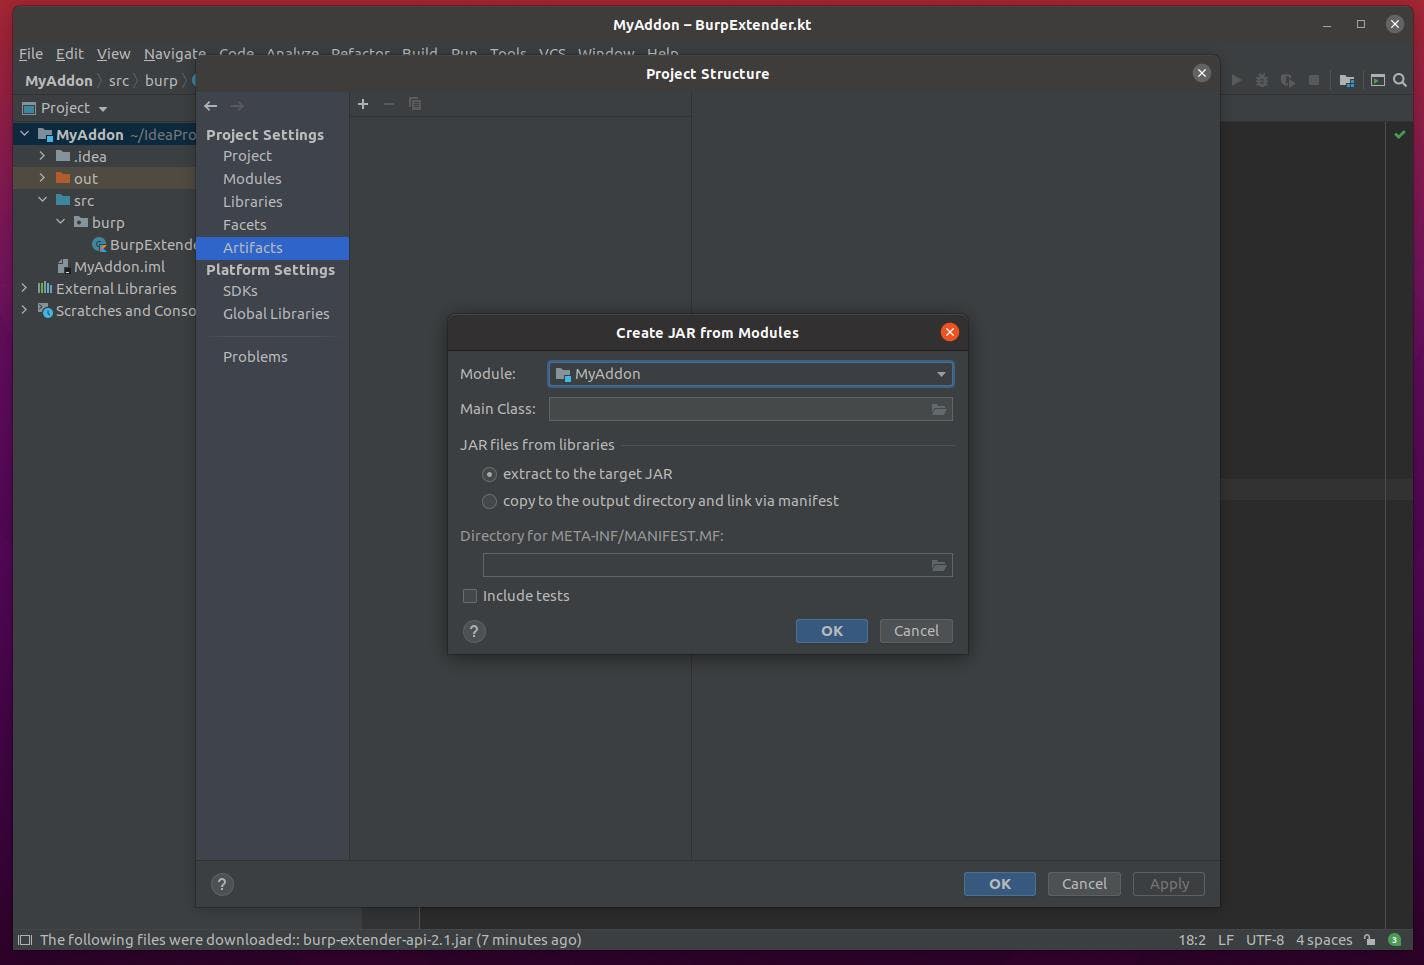
Go back to project structure ctrl+alt+shift+s on the artifact tab and create a new JAR from modules.
Select the MyAddon module and press OK
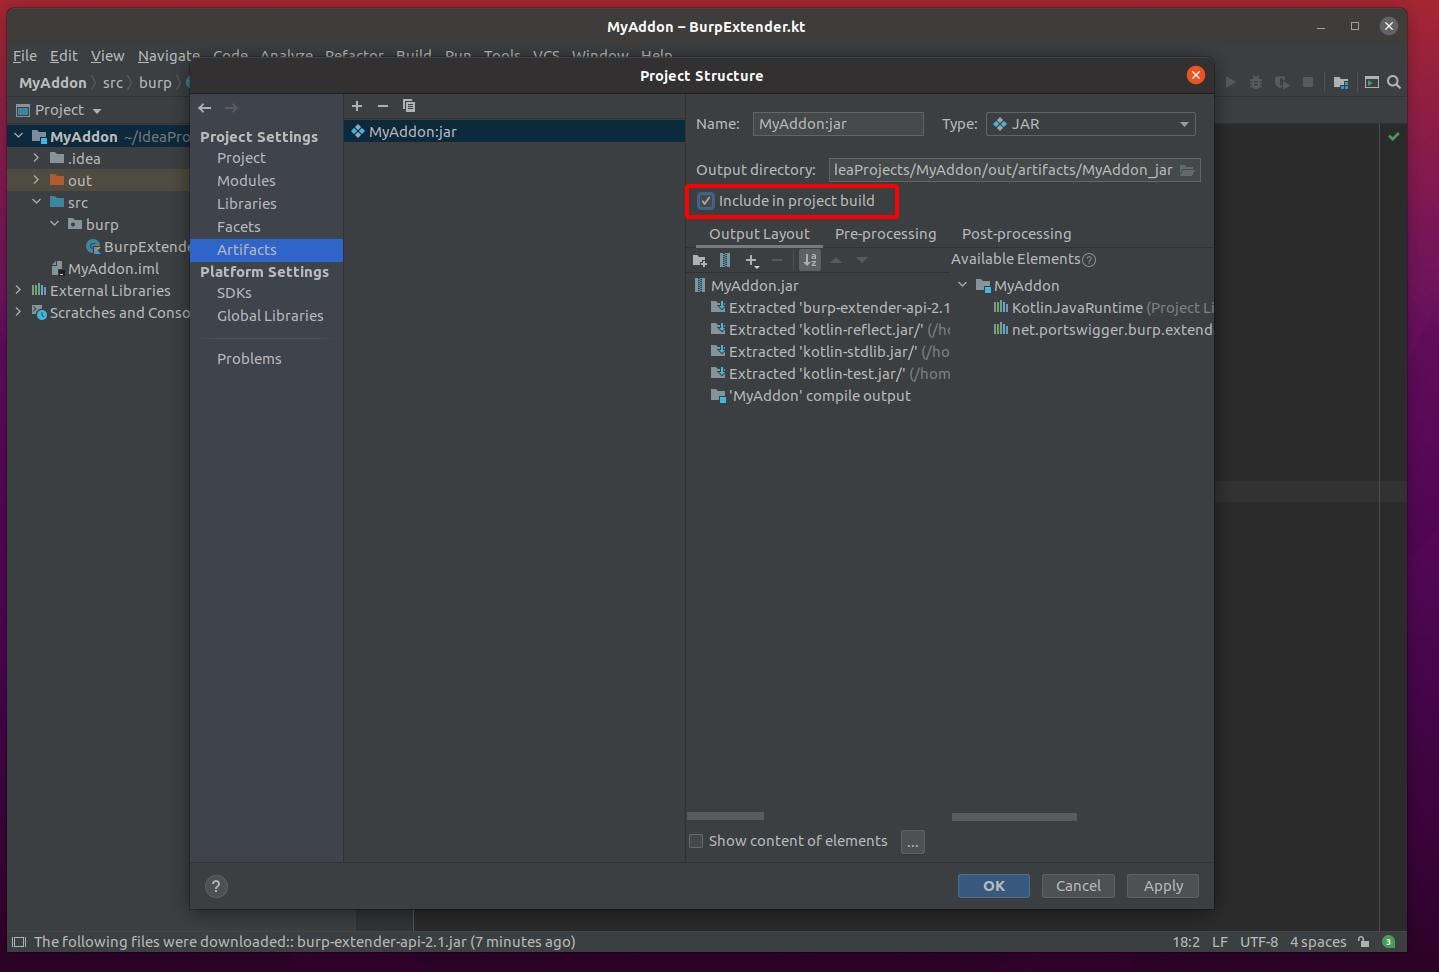
To create the jar file automatically for each build, don’t forget to check Include in project build
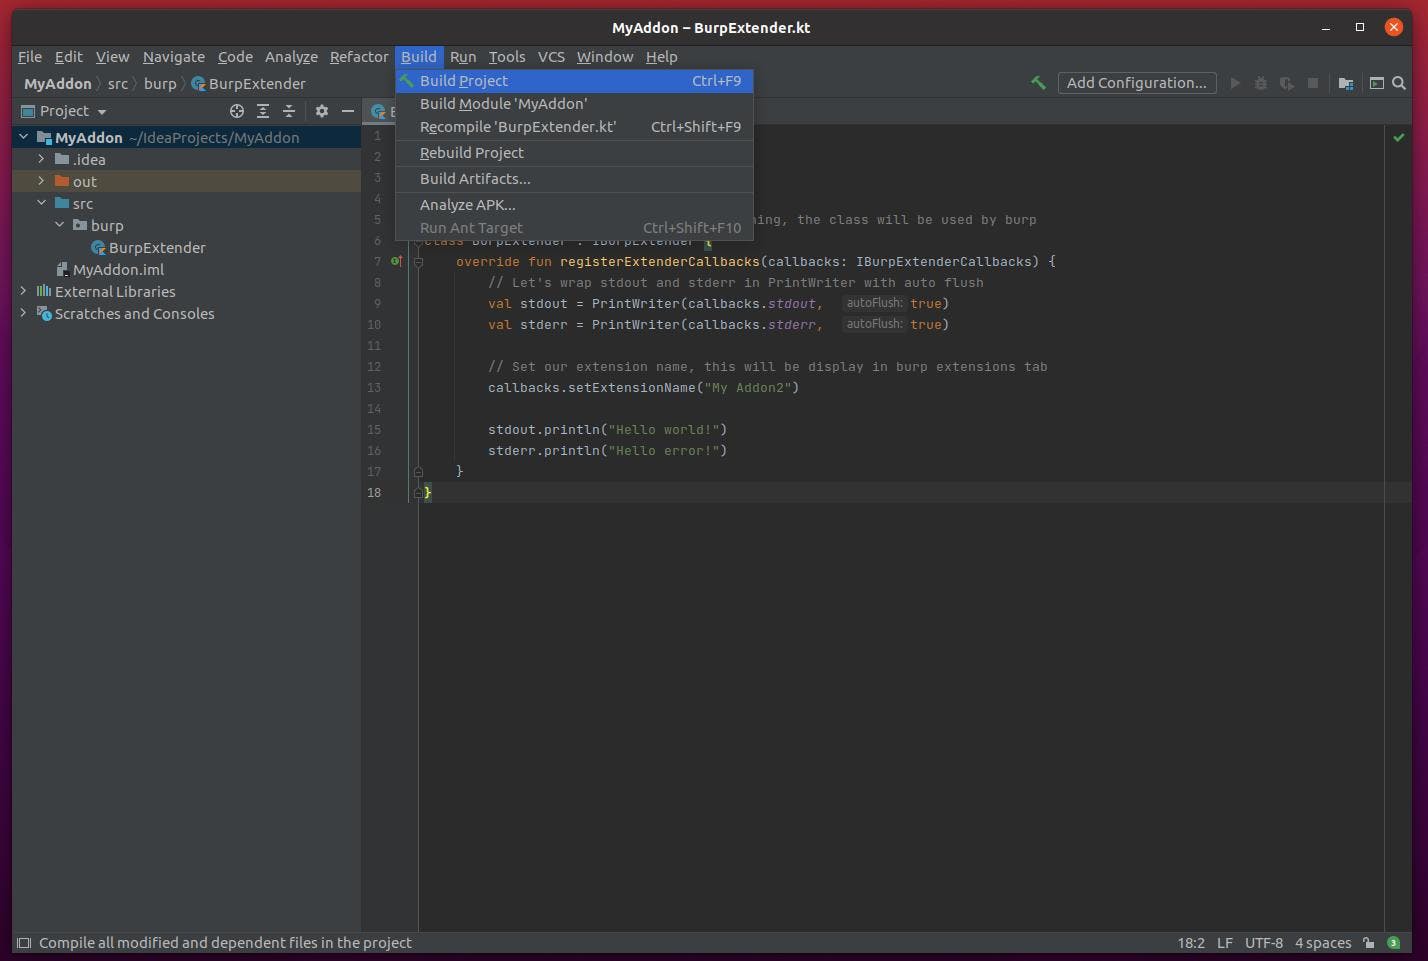
You can now build your project via the menu or by pressing ctrl+F9
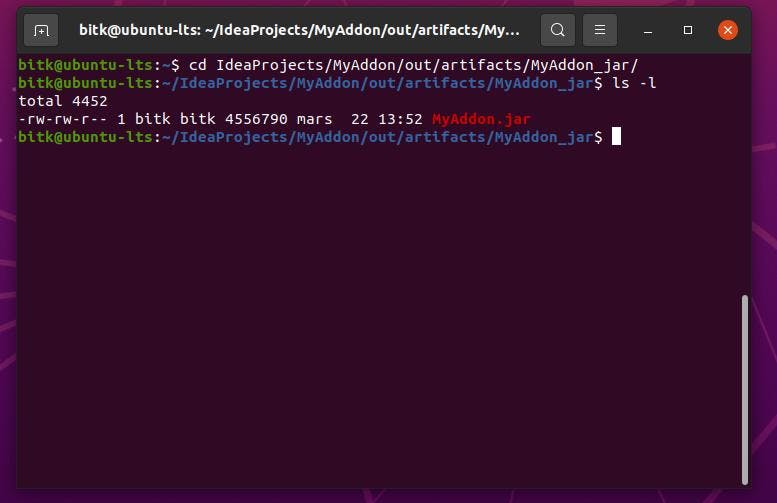
The jar file will be available in $PROJECT_PATH/out/artifacts/MyAddon_jar/MyAddon.jar
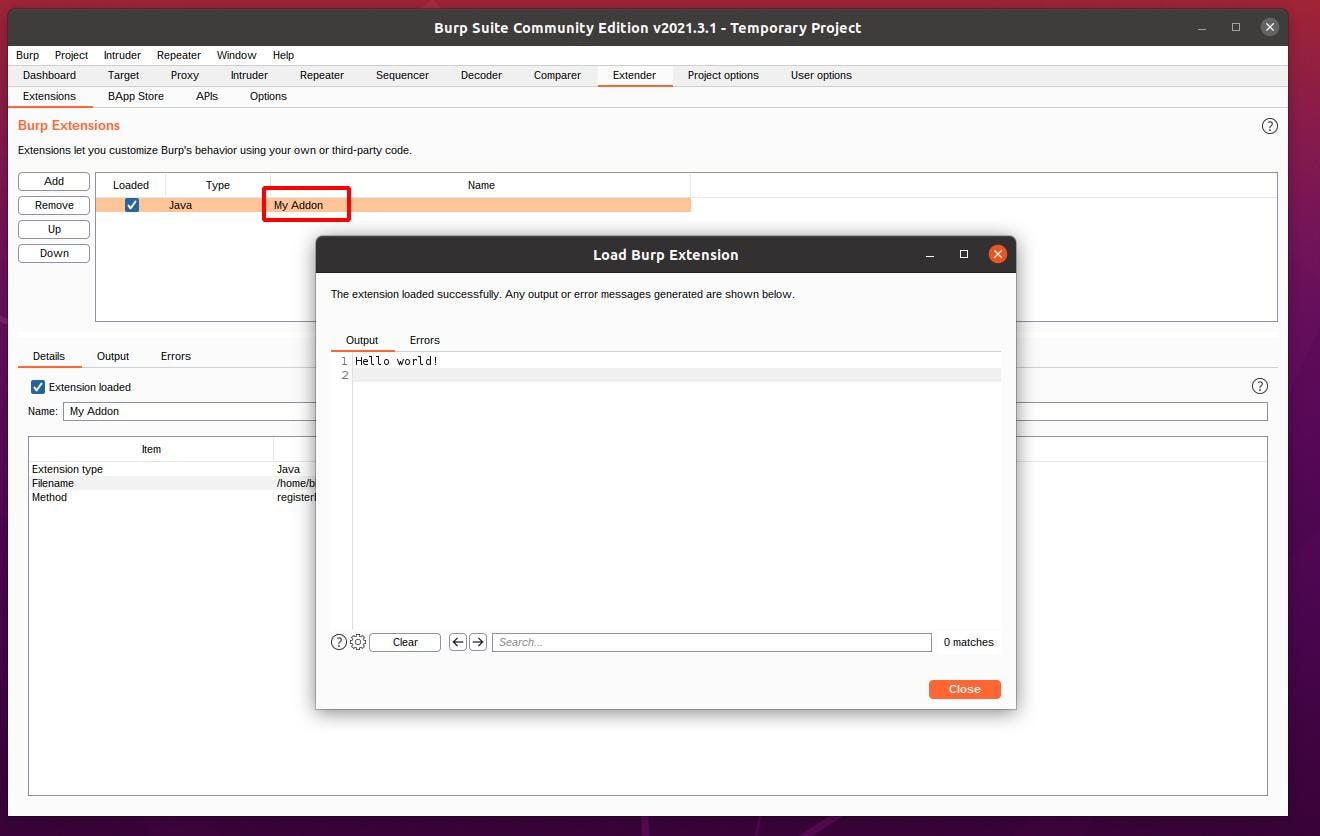
Testing your extension in Burp Suite
Open burp and go to Extender/Extensions and click on add.
In the popup choose java as extension type and enter the path of the previously created jar file, then press next.
You can now see your extension with it’s name, and the messages in the Output and Errors tabs.
Conclusion
We got our first extension ready and running, even if it doesn’t do much for now. Tune in for next episode, we will explore Burp API and how to add UI components. Feel free to ask anything on our Twitter!