Having a dedicated Android test environment can be useful when a company needs to test a mobile application on its scope. The first possibility is to use a physical device, but this can present certain constraints and is not always easy to setup. The second possibility is to setup a virtual environment, and this is what we will see in this article.
This article is a guest blog post written by Neha Tariq.
Genymotion
This is the most popular, fast and simple to install emulator based on VirtualBox, containing a wide range of virtual devices in order for the users to test the Android applications in the desktops. It is available for Windows, MacOS and Linux operating systems.
So, in order to install the devices, first we need to create an account and after completing the verification process simply download the free version of Genymotion according to your operating system.
Make sure the VirtualBox is installed and configured in the system. If not, then follow up this guide.
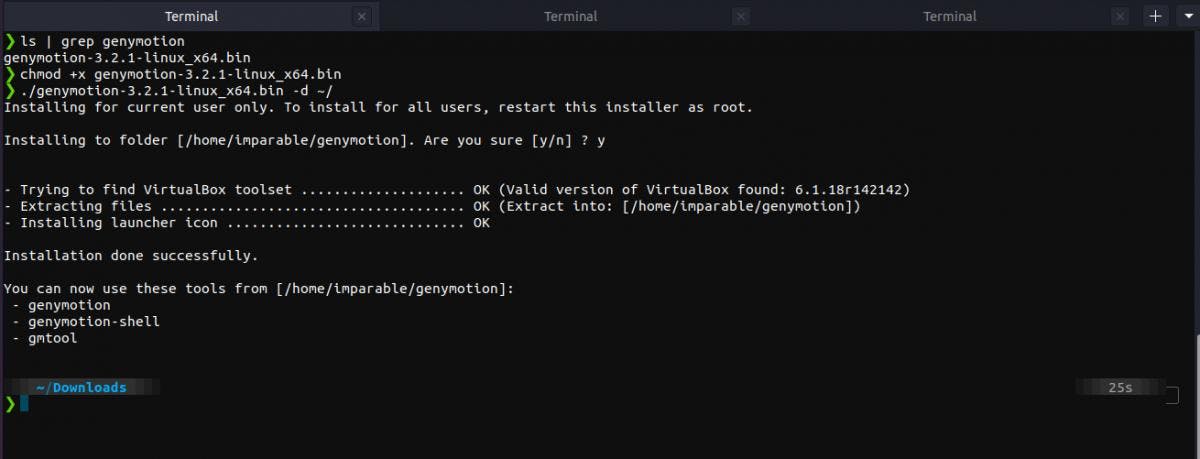
After downloading the installer, follow the steps given in this guide according to your operating system.
Now to access the dashboard, simply login with the credentials defined in the account creation process and make sure to only select “Personal Use” radio button if you want to use this for free of cost.
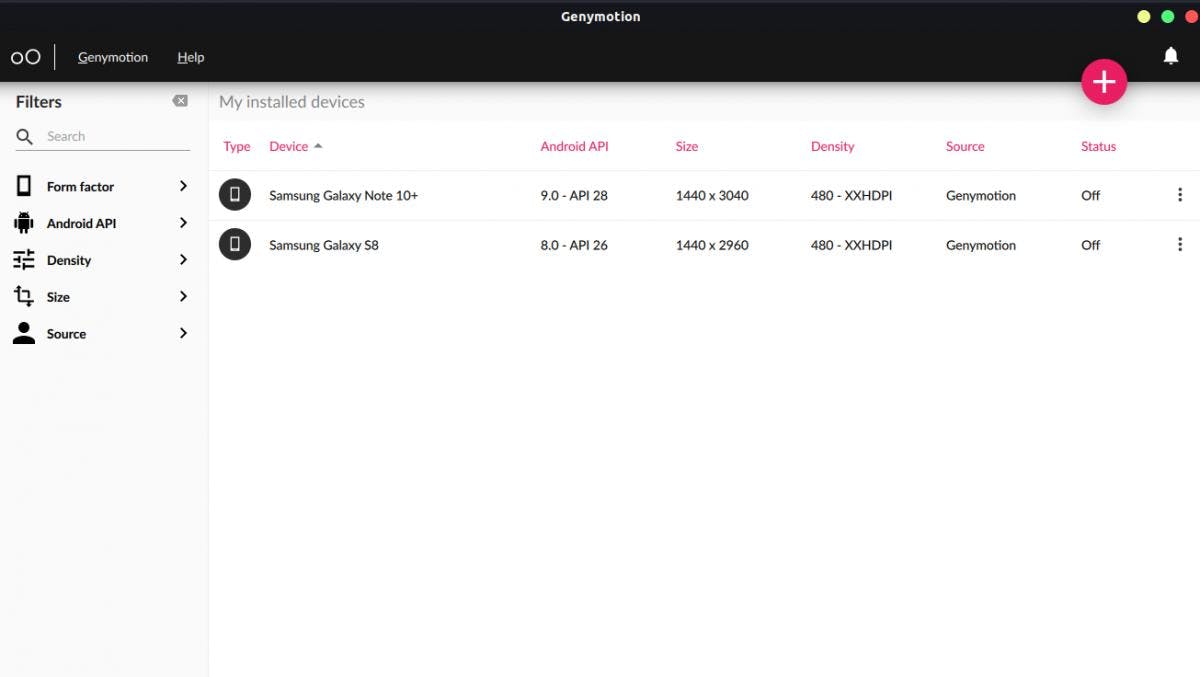
In Figure no. 3, I have already installed two Samsung devices, but you can install any available device by pressing the plus icon in the top right corner.
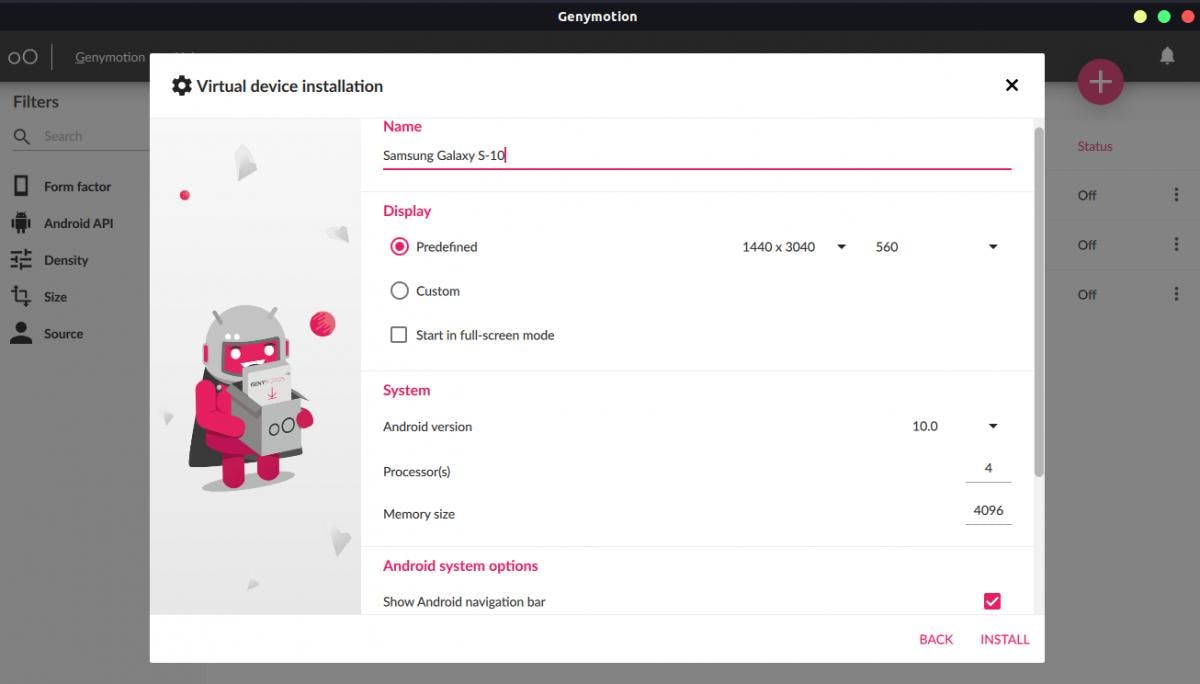
For the demonstration purpose, I will install the Samsung Galaxy S10 (API — 29) with 4 processors and 4GB RAM.
After downloading, simply launch the virtual device from the dashboard.
Further Configurations
- Install Open GApps package
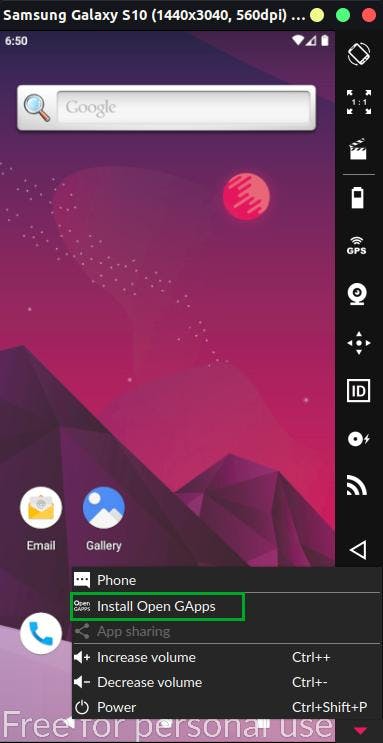
In order to install the Google apps like Play Store, Gmail etc. in Genymotion, you must need to install the Open GApps package which can be found in the toolbar like shown in the below image.
Just click the button and accept the warning message. After installation reboot the device. So, you can easily download the target APK (Android Package) files directly from the Google Play store and start pen-testing.
2. Install ARM translator
This translator comes into rescue if an application which you are trying to install is containing the native ARM code and Genymotion throws the following error:
An error occurred while deploying the file. This probably means that the app contains ARM native code and your Genymotion device cannot run ARM instructions. You should either build your native code to x86 or install an ARM translation tool in your device.
Hence, to avoid this error download a suitable translator from this GitHub repository and drag & drop into emulated virtual device.
Burp Suite with Frida (SSL Pinning bypass)
To setup the Burp proxy listener to receive the incoming HTTP requests from the emulated device, add a new listener with an available port and an IP address which belongs to the VirtualBox host-only network like shown in the image:
This proxy setup would now allow you to intercept the HTTP requests coming from the WebView but not from the Android applications and the reason is SSL pinning.
If you don’t know about this technique already then let me tell you in quick that this is basically an extra protection from the developers which enforce the application to validate the server side certificates against a list of trustful certificates at the runtime which got embedded or pinned in the client side during the development process. This enforcement ensures to protect against man-in-the-middle attacks. That’s why to bypass this functionality we need to use tools like Frida.
This tool will hook the code snippets in the runtime to manipulate the application’s logic and bypass the certificate pinning.
Installation of Frida
- Install the Frida CLI tools using pip3:
2. Download the latest version of the Frida server for android, but make sure it would be for x86 because Genymotion’s virtual devices have a 32-bit architecture only:
wget https://github.com/frida/frida/releases/download/<version-number>/frida-server-<version-number>-android-x86.xz
3. Decompress, rename and transfer the file into emulated device using adb:
unxz frida-server-<version-number>-android-x86.xz
mv frida-server-<version-number>-x86.xz frida-server
adb push ~/Downloads/frida-server /data/local/tmp
4. Change its permission to execute the script:
adb shell chmod 755 /data/local/tmp/frida-server
Usage of Frida
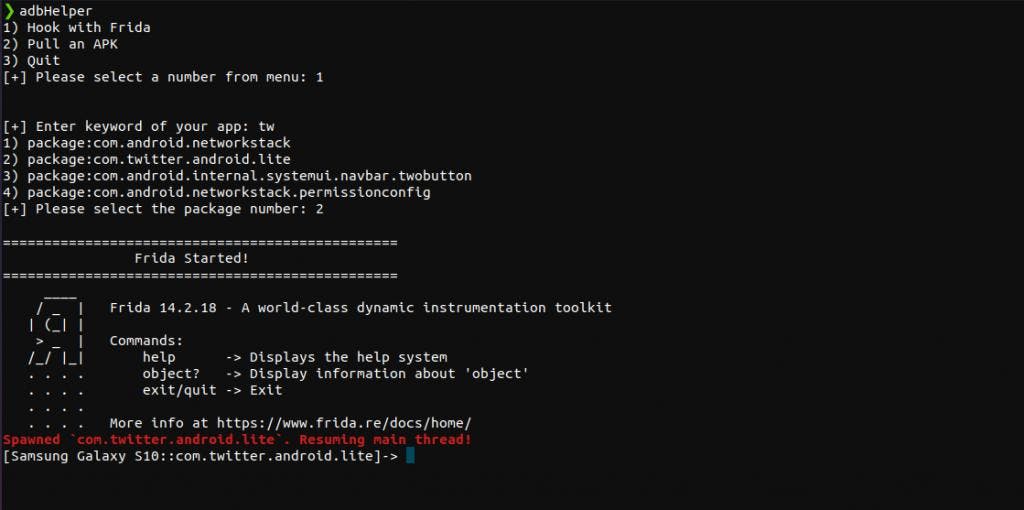
To run the Frida server and hook the script automatically, I have written a custom script in the Bash which you can download from here.
After saving the script, let’s run the Twitter Lite application and bypass the certificate pinning using Frida like shown in the image:
Note: Make sure ‘adb’ tool is in bin directory.
Now you can successfully intercept the HTTP requests coming from the applications in the Burp Suite.
MobSF
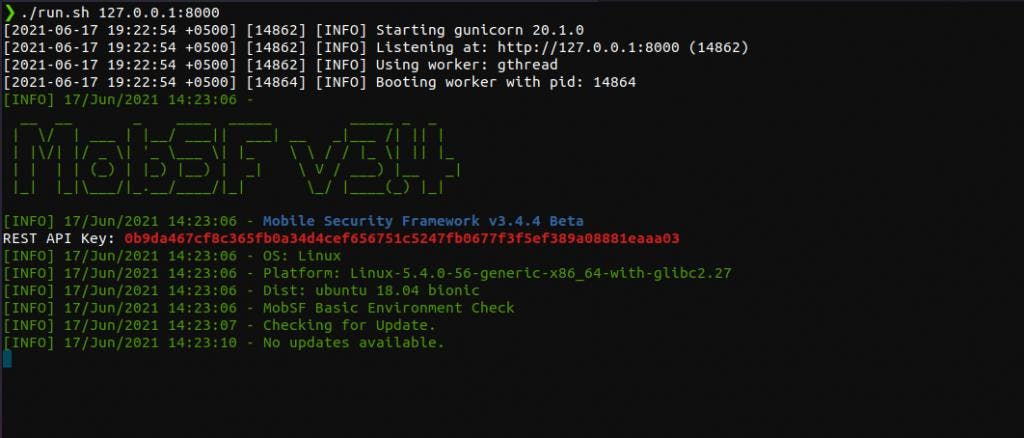
Mobile Security Framework aka MobSF is a great tool to analyze the APK both statically and dynamically. To install this tool, follow up the guide and make sure all of the requirements are fulfilled according to your OS.
After installation, run the tool and by default this will start listening on port 8000.
MobSF for static analysis
To initialize the scan all you need is the name of the package and hit Enter or the actual file on the host computer (which you can easily drag & drop in the dashboard)
But, make sure the name of the APK should be correct e.g “com.quora.android” and for this you can use adb tool with the following command:
adb shell pm list packages | grep quora
For the second option, to pull the APK from the emulated device to your host computer I have automated the process in my script as well for the convenience.
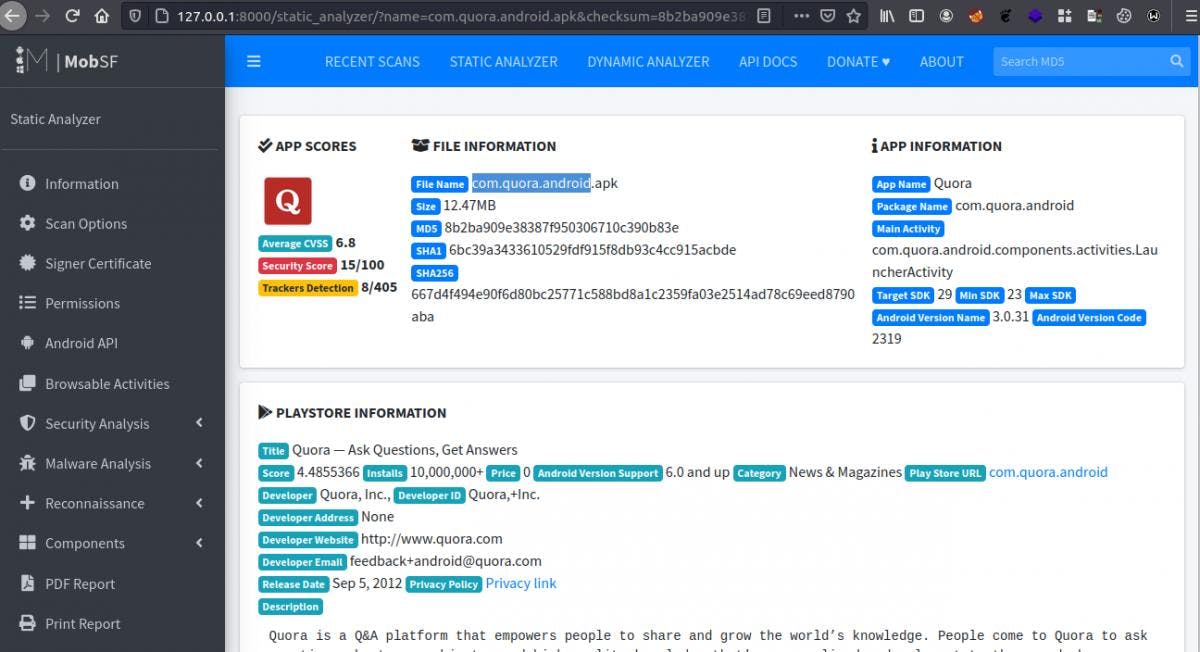
After providing the desired APK, MobSF will analyze the complete source code and present you a well defined report with all of the necessary and juicy information.
MobSF for dynamic analysis
One of the key features of this tool is runtime tests and bypassing SSL pinning means you don’t have to configure the proxy details in the WiFi settings, run the Frida server etc.
Well, now you must be wondering if MobSF has built-in features to cope up all of these extra work then what is the need of explaining them above?
And the reason is synchronicity because MobSF captures the HTTP traffic which you can send to a proxy like Burp Suite after selecting the request(s) from the dashboard which in my opinion is not very handy in manual testing. So, only for this reason I like to run Frida server separately in order to capture requests in the Burp Suite at runtime.
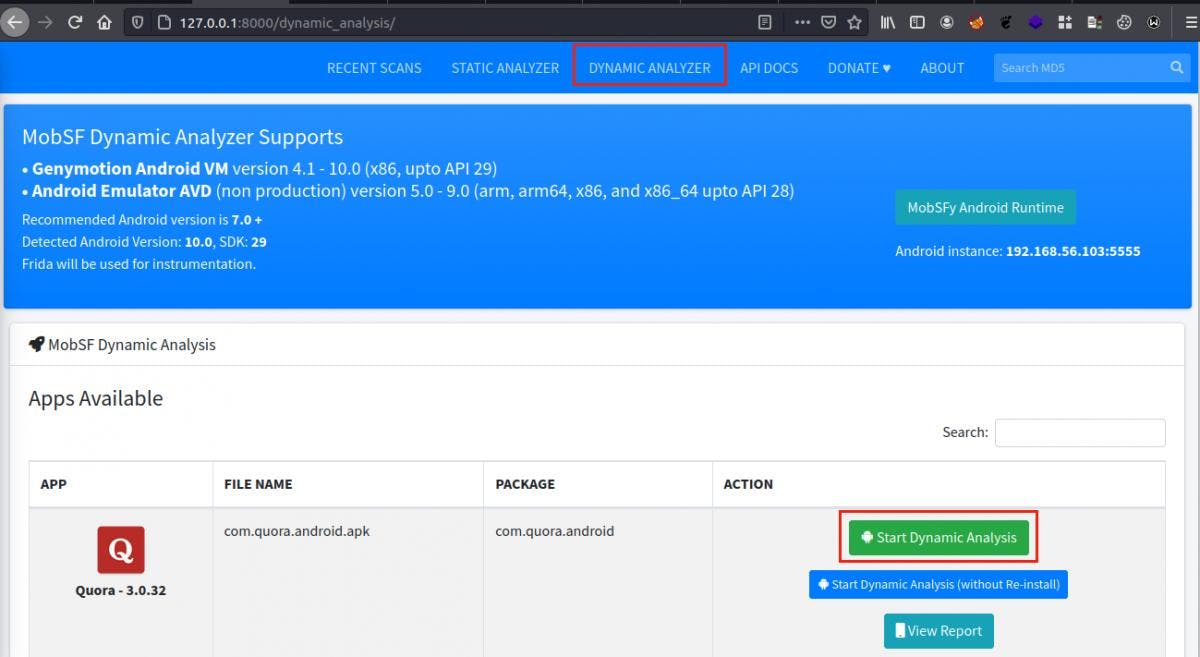
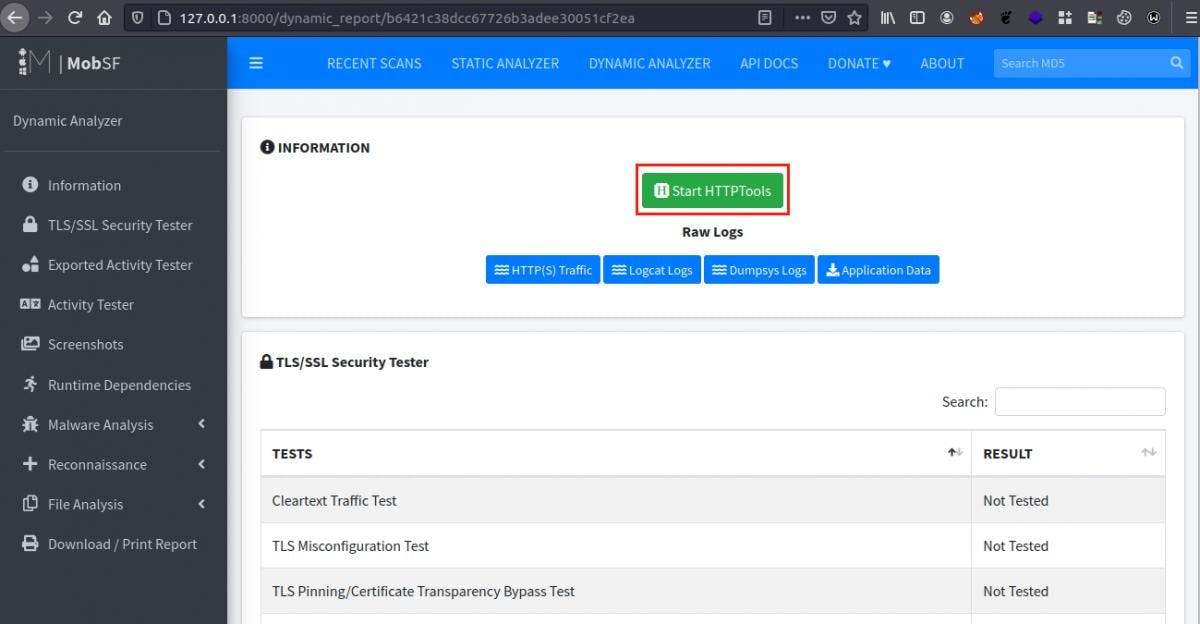
But, you should definitely try out this feature and for that click the “DYNAMIC ANALYZER” button from the top menu bar and then start the analysis:
After completing scan, click the “Generate Report” button and then “Start HTTPTools” to view all of the captured HTTP requests.
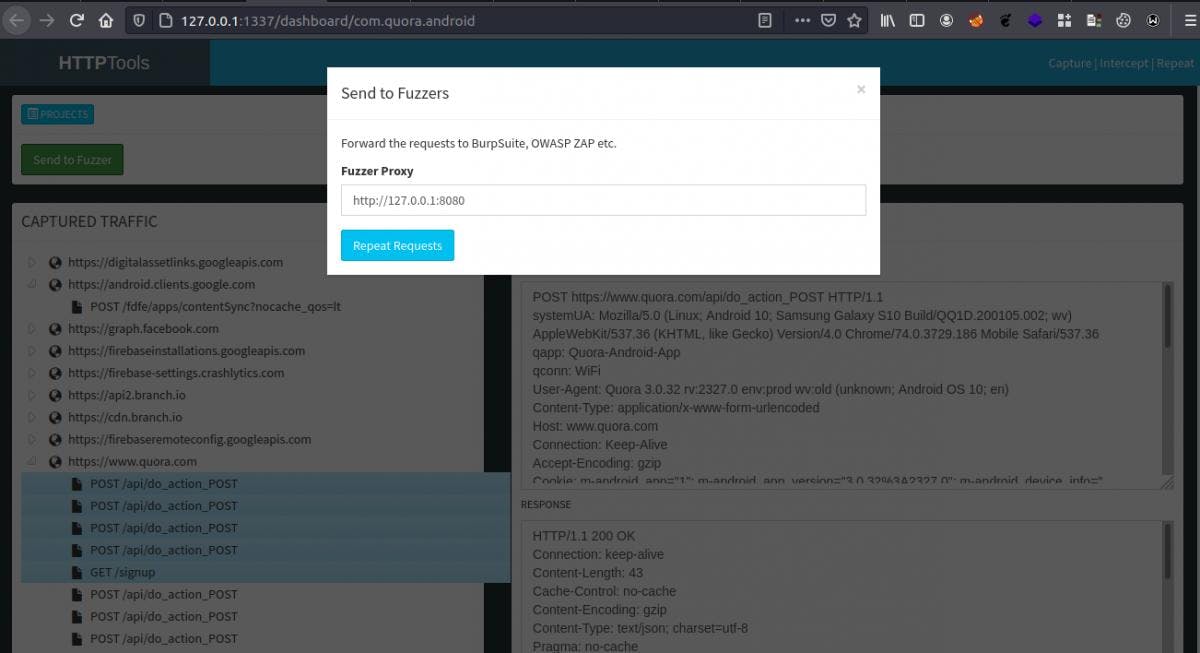
Now from here, select any request(s) you want to redirect to the proxy in this case Burp Suite and click the button named “Send to Fuzzer”. By default, this will use “http://127.0.0.1:8080” but, you can change the port number with the available ports.
Final Notes
This is just a basic setup for beginners and if you guys find this helpful then feel free to ping me on Twitter especially if you have some doubts still left in your mind. Happy Hunting!